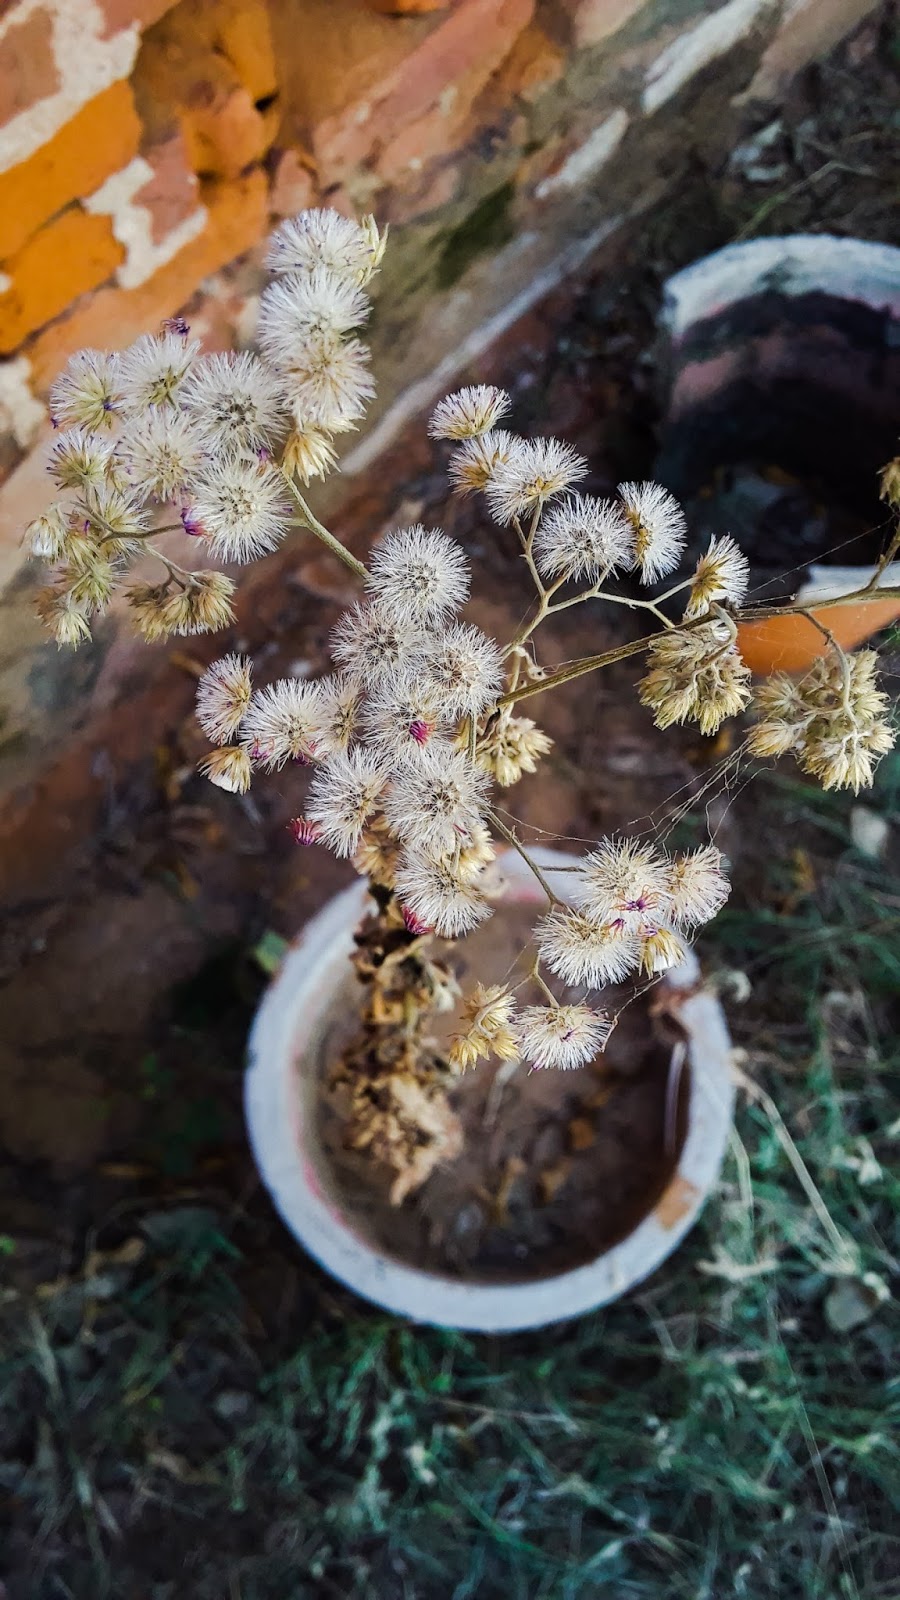
How to Take Macro Pictures?
Photo Tip: Macro photography is photography magnified. It is generally recognized as “macro” when you are increasing the size of an object in your picture from about half life-size, as represented on the image sensor, to five times life-size.


What is Macro Photography?
First, an explanatory note for all those with a modicum of photo history and tech basics: the term macro used to refer to the capture of an insect or whatever, that resulted in an image on the 35mm film frame (24x36mm) that ranged from 1:10 to 1:1 the size of the original subject. For its part, the term micro referred to a film image that was larger than 1:1 life size; micro photography could easily give you a 35mm film image of an ant that was itself larger than the original ant.

-A 50-60mm lens is suitable for general macro work but if you want greater subject-to-lens distance a 100mm lens will give you this at a price.

Tips for macro photography
1. Choose the Best Lens.
-A 50-60mm lens is suitable for general macro work but if you want greater subject-to-lens distance a 100mm lens will give you this at a price.

 2.Make a Standard Zoom Focus Closer by Adding Tubes.-
 Extension tubes fit between the rear mount of the lens and the camera body to make the lens focus closer and therefore produce a much bigger image of a small subject.
3.Add a Dioptre to Make a Lens Focus Closer.-


Comments
Post a Comment